
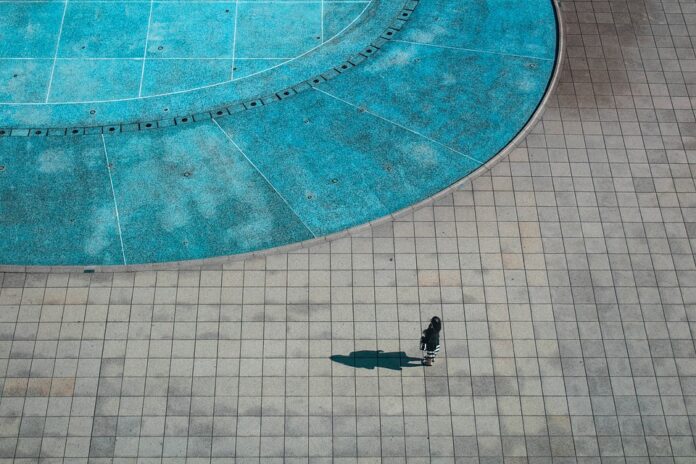
Recoating your pool is a must if you don’t want it to get severely damaged and if you don’t want it to pose a threat to your health and to the environment. Many people believe that this is an extremely lengthy and complex process, but in reality, you will get over with it far faster than you imagine. Here, we are going to give you some tips that will help you understand the process of resurfacing a pool, and how you should approach this task to avoid any problems or delays.

-
You need to choose when to do it depending on the material
Many people choose to wait to see the warning signs before they decide to resurface the unit, but you should steer away from this because you can experience a lot of damages that could end up costing you thousands of dollars. Depending on the material that you’ve used to build the unit, you need to coat the unit every five to fifteen years. Polished finishes along with white plaster should last between 5 and 15 years, a pebble one is going to last for at least 15, and white quarts should be good for at least a decade. Talk to your coating service to see if you should get to this task right away, or if it can wait for some time.
-
Know how long will it take
Before starting this task, you need to know how long it is going to take. In most cases, depending on how you choose to do it, as well as the service you choose to collaborate with, it should not take more than a week. Some people choose to do it on their own, and in these cases, the recoating may take way longer. Note that the process will also depend on the weather conditions, so if there is high wind or rain, the whole task will be postponed. Nevertheless, you should have your unit ready in about two weeks even if things get delayed.
-
There are different types of finishes
Know that there are different types of finishes that will affect the durability of your unit, as well as the maintenance process that will be required in the future. Plaster is the most budget-friendly option, and even though it comes with its drawbacks, it is still one of the most popular finishes. You can also opt for aggregate, and with it, you will have the option to choose if you want it to fully show the pebbles under it, or if you want a smooth surface without any bumps on it. Finally, you can go with tiles, and this is the most natural and versatile option. Tiles are a great choice for even the pickiest users, and they are the easiest ones to clean.
On websites like poolresurfacingdallastx.com, you can see that the right resurfacing service can aid you in the selection of the material, and they can guide you on how to maintain it, and extend its lifetime.
-
You should start by draining the pool
The process starts by draining the unit and getting rid of all the water in it. This is going to take some time, and experts may even use special pumps that are going to collect any dirt and debris that may be floating in the water. Note that in most cases, the area is going to be flagged with tags and you are going to be instructed not to turn on the lights in the unit while it is empty. During this part of the process, the unit will be cleaned from any dirt, algae, and debris.
-
Continue by prepping it
After your pool is drained the next step is prepping it for the coating. During this stage, it is going to get loud and noisy on your property, and the experts will remove all the damaged surfaces as well as previous coating. You can read more on https://www.floridianinc.com.
Note that you will have to deal with a lot of dust in your yard, so if you have any pets or children, make sure they don’t spend too much time around the pool. Make sure you clean the area around your pool including any furniture that you may have there.
-
Think about the plumbing
When the preparation stage is done, the experts will check on the piping system, and they will see if there are any damages or things that need to be replaced. More often than not, there should not be any issues with the plumbing, but if there is, the pipes will need to be sealed or replaced. Know that this may delay the finish of the project, and it may increase the overall cost. After this part is done, the experts will add a watertight coat so that there are no leakages after the project is done.
-
The next step is installing the finish
This step is done after everything else is finished and after your unit is properly sealed and made watertight. This is the part of the project that will take the longest time, and it should take up to two or three days depending on the material and the size of your pool. During this stage, you will start seeing how the unit is going to end up looking, and you will have an idea of the overall design that you are going to get.
-
Don’t forget to clean the unit
Finally, once the finish is completely dry, the experts will clean it from any dirt or dust residue, and they may even do an acid wash if you’ve chosen a material that requires this. Once this part is completed as well, the only thing left is for the unit to be filled with water. Note that the professionals will closely inspect the unit, and make sure that there are no mistakes, potential problems, or damages.
These are some of the main things that you need to know about pool resurfacing, and good service will walk you through them in more detail. Make sure you talk to them about every step depending on your specific case and talk to them about any potential issues or delays.


