
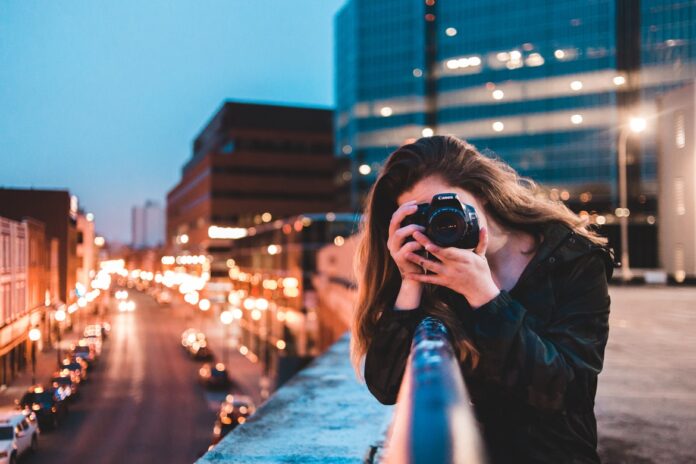
You may know your angles and you might be able to take a good looking selfie – but can you take a nice portrait photo of someone else? Portrait photography is hard. It might look easy once you observe a professional do its thing, but it really isn’t. You need to capture the essence of the person you’re taking a photo of, and that’s not something that’s easily done.
Now, we’re no Annie Leibovitz, but we know a thing or two about portrait photography. So, if you’re on a quest to becoming a portrait photographer, we suggest you stick around with us for a few more moments because we’re about to let you in on a few secrets, and give you a few tips on shooting some stunning portraits.
-
Practice
We know, we know… Telling someone to practice is the most generic tip ever, but the thing is, you won’t get anywhere without practice. Photography is like any other skill. You learn it as you go, and you get better with time. So, the first tip we have for you is just grab a camera, find a model, and shoot as many portraits as you can. After a while, you’re going to notice a difference.
Now that we’ve gotten that out of the way – let’s get a technical.
-
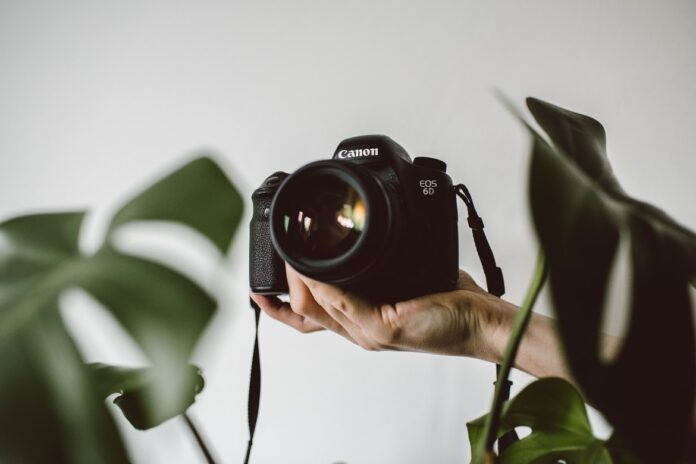
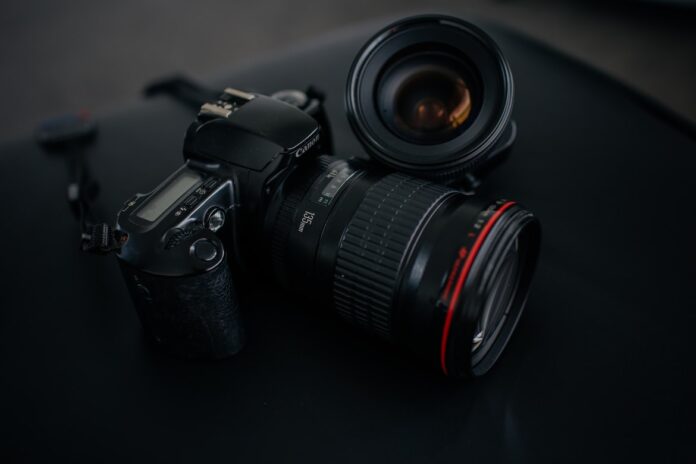
Get A DSLR
Even though your iPhone camera is pretty sweet, it still can’t compare to the quality of a professional DSLR camera. So, if you’re really serious about becoming an excellent portrait photographer, we suggest you go out and get yourself a professional camera, some lenses, and start shooting.
-
Use Wide Aperture
One of the essentials of portrait photography is isolating your subject from the background. Every great portrait puts the spotlight on the subject, and one of the best ways to achieve that is through a shallow depth of field.
How do you do that? Well, the easiest way to get a shallow depth of field and have your subject stand out from the background is by using a wide aperture. Now, it all depends on the focal length, but generally speaking, shooting at a wide aperture like f/2.0 or 3.2 will allow you to create that bokeh effect around your subject. Loosely translated, this means that your subject will be sharp and in focus, while the background’s blurred.
-
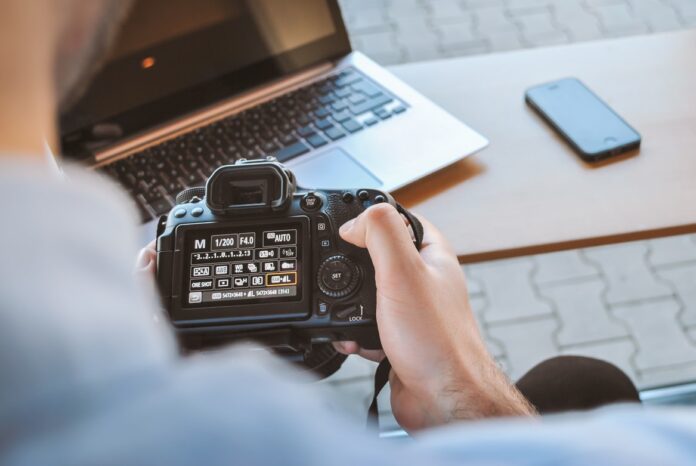
Set The Shutter Speed
Essentially, increasing the shutter speed will allow you to take images in a fraction of the second. But, why is that important? Well, it all comes down to capturing the moments. A slow shutter speed will result in the blurry images if your subject is moving or isn’t perfectly still. Also, if you’re hands aren’t the most steady – you’ll get a blurred image.
Traditionally, for best results when shooting in broad daylight, you’ll want to set your shutter speed to 1/200th of a second if you’re holding the camera in your hands. If you’re using a tripod and shooting a still model – you can lower the speed down to 1/15th of a second.
-
Master The ISO
The final aspect of the photography holy trinity is the ISO. Alongside shutter speed and aperture, ISO is the third and final factor of the so-called Exposure Triangle.
Now, mastering ISO can be a little tricky, so we made sure to talk with Sam Yari, a professional photographer whose work you can check out at samyari.com, about all things ISO, and here’s what we’ve learned.
ISO is a measurement of your camera’s sensor sensitivity to light. In other words, ISO determines how light or dark will the photo be. Most rookies leave it up to the DSLR’s algorithm to figure out the ISO automatically, but in some instances, if you want the best possible photos, you might have to adjust the ISO manually.
The general rule of thumb is following. Higher ISO means brighter image, and lower ISO means darker. Now, that may lead some of you to believe that all you need to do is up the ISO and you’ll be set, but that’s not quite the way it works. Namely, increasing the ISO will also increase the level of noise, which will degrade the quality of the photo and result in a grainy portrait, which is a no-no.
So, what you need to do is figure out the way to set the ISO as low as possible for the given lighting conditions.
-
Disable The Auto And Shoot RAW
Once you get pretty good with the Exposure Triangle, you’ll be very well on your way to shooting better portraits, which means that it is time for you to ditch the Auto settings. Take a few photos before you start shooting for real and make the necessary adjustments to make your portraits pop.
Also, shoot in RAW. Don’t bother yourself with pre-applied settings and filters, and just shoot the photo in RAW. Even though RAW might not look as good straight out of the camera, it will give you the best possible photo that you can later on touch up in post-processing. A RAW photo will contain all the necessary details and photo information that you will later on manipulate any way you want in order to get the perfect portrait.
-
Talk
All the technical skills and high-end gear won’t be able to help you if you can’t relax your model. Not everyone is comfortable in front of the camera, and it is your duty, as a photographer, to make them relaxed and comfy so that you can work together and make some great portraits. So, while you’re polishing your camera skills – try and polish your social skills, as well.
-
Use Photoshop
Post-processing is a huge part of portrait photography, and unless you’re going for that raw, unfiltered look to your portraits, you’re going to have to get familiar with Photoshop and other photo-editing software.
Take a course or just fire up YouTube and feast on tutorials on how to edit photos in Photoshop, and we guarantee you, your photos will look million times better than before.
Conclusion
Sure, we could’ve gone way more into the details about lens choices, posing, focus, lighting, framing, subject placement, and more, but those you’ll figure those out eventually. Master these basics first, and then you’ll be able to experiment with portraits all you want.
Hopefully, you’ve found these helpful.


