
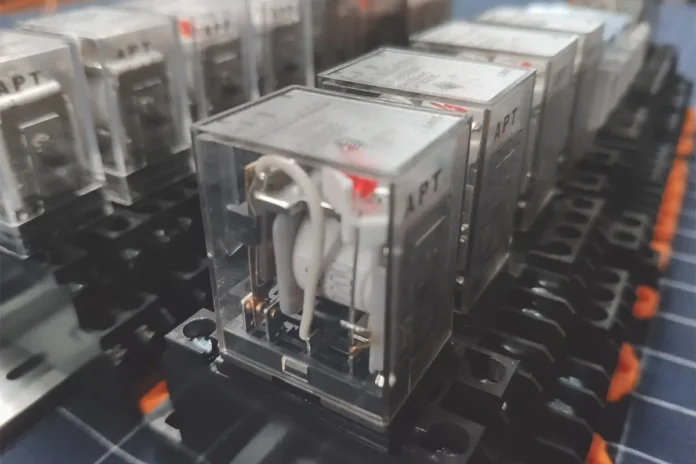
Time delay relays are crucial components in electrical systems that enable control over the timing of various operations. They play a vital role in automating processes, enhancing safety, and optimizing energy efficiency. Whether you’re a DIY enthusiast or a professional electrician, mastering the art of wiring is essential for efficient and reliable system operation.
Understanding the Basics
These relays function by introducing a time delay between the activation of a control signal and the associated output action. This delay can be utilized in numerous applications, such as motor control, lighting systems, and industrial processes. Familiarizing yourself with the different types of time delay relay diagrams and their functions will lay the foundation for successful wiring.
Types and Functions
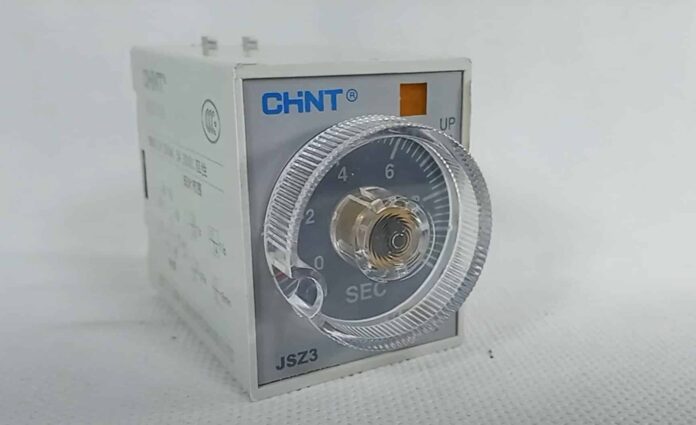
Some common types include on-delay, off-delay, interval, and repeat cycle relays. On-delay relays initiate a delay after the control signal is activated, while off-delay relays introduce a delay before the output is deactivated. Interval relays maintain output for a specific duration, while repeat cycle relays repeat a series of on-and-off cycles. Understanding these types and their functions is vital when choosing the right relay for your application.
Selecting the Right Relay for Your Application
Selecting the appropriate relay requires careful consideration of the specific requirements and constraints of your application. Factors such as time delay range, input voltage compatibility, contact rating, and environmental conditions should be considered. Additionally, considering the features and additional functionalities of the relay, such as adjustable time delays and auxiliary contacts, can further enhance its versatility and suitability for your needs.
Safety Precautions and Guidelines
Safety should always be a top priority when working with electrical systems. Before embarking on any wiring project, it is essential to follow safety precautions and guidelines to prevent accidents and ensure compliance with relevant electrical codes. Proper grounding, isolation from live circuits, and the use of appropriate personal protective equipment (PPE) are critical steps to minimize risks. Additionally, familiarizing yourself with the specific safety instructions provided by the relay manufacturer is imperative.
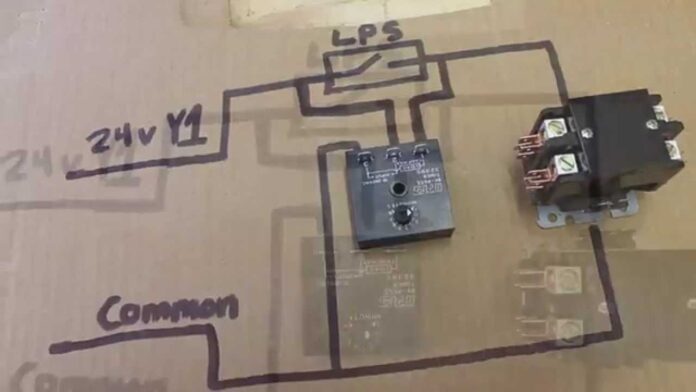
Step-by-Step Wiring Instructions
To help you master wiring, let’s outline a step-by-step approach to the process:
- Gather the necessary tools and materials, including the time delay relay, appropriate wiring cables, wire strippers, electrical tape, and screwdrivers.
- Turn off the power to the circuit you’ll be working on and ensure it is de-energized.
- Identify the input and output terminals.
- Connect the control signal to the input terminals, ensuring proper polarity and secure connections.
- Connect the load to the output terminals, again ensuring secure connections.
- Follow the manufacturer’s instructions for setting the desired time delay using any adjustable knobs or switches.
- Double-check all connections to ensure they are tight and free from any loose wires or exposed conductors.
- Insulate the wired connections with electrical tape to provide additional protection and prevent accidental short circuits.
- Restore power to the circuit and test the functionality, verifying that the desired delay and output actions are achieved.
- Perform a thorough inspection of the entire wiring setup, checking for any signs of overheating, loose connections, or other potential issues.
Troubleshooting Common Issues
Even with careful wiring, issues may arise. Knowing how to troubleshoot common problems can save time and prevent system failures. Some typical issues include incorrect wiring connections, faulty relays, incorrect time delay settings, or external factors causing interference. You can identify and resolve these issues by following a systematic troubleshooting approach and consulting the manufacturer’s documentation.
Advanced Wiring Techniques
Once you have mastered the basics, you can explore advanced wiring techniques that can further enhance the functionality and versatility of time delay relays. These techniques include cascading multiple relays to achieve complex timing sequences, integrating auxiliary contacts for additional control or monitoring functions, and utilizing external control devices such as sensors or programmable logic controllers (PLCs) to trigger relay operations. These advanced techniques open up a myriad of possibilities for customized and sophisticated applications.
Control Circuits
Time delay relays are often integrated into control circuits to facilitate automated operations and enhance system efficiency. Understanding how to incorporate them into control circuits requires a solid grasp of electrical control principles and knowledge of circuit design. By properly designing and wiring control circuits that incorporate time delay relays, you can create intelligent and responsive systems that meet specific requirements.
Practical Examples and Diagrams
To provide practical insights into wiring, let’s explore a few common examples and provide accompanying diagrams:
- Motor Control: Using an off-delay transmit to provide a time delay before turning off a motor after the control signal is deactivated.
- Lighting Control: Employing an on-delay relay to introduce a delay before turning on a lighting system after the control signal is activated.
- Pump Control: Using a repeat cycle transmit to alternate the operation of two pumps with adjustable on and off times.
- HVAC Control: Incorporating an interval relay to maintain a fan operation for a specific duration after the control signal is deactivated.
Best Practices for Maintenance and Upkeep
Proper maintenance and regular upkeep are crucial for ensuring the optimal performance and longevity of time delay relays. By following these best practices, you can minimize downtime, prevent malfunctions, and extend the lifespan of your transmits.
- Regular Inspection: Conduct periodic inspections to check for loose connections, signs of wear or corrosion, and any visible damage.
- Cleaning: Keep the relays clean and free from dust, dirt, and debris. Use compressed air or a soft brush to remove any accumulated particles.
- Testing: Perform routine functional tests to verify the timing accuracy and output actions of the relays.
- Calibration: If adjustable, recalibrate the time delay settings as needed to maintain accurate timing.
- Documentation: Maintain a record of maintenance activities, including inspections, tests, and any repairs or replacements.
By adhering to these best practices, you can ensure the reliability and optimal performance of your time delay relays over time.
Conclusion
In conclusion, mastering time-delay relay wiring can be a complex task for many. However, if you follow the right tips and instructions, it is possible to wire them correctly and achieve efficient results. Understanding the basics of relay components like contacts, coils, timers, and terminals along with learning how to read circuit diagrams and schematics relating to time delays can help you create an accurately wired system that can last for years without any problems.


