
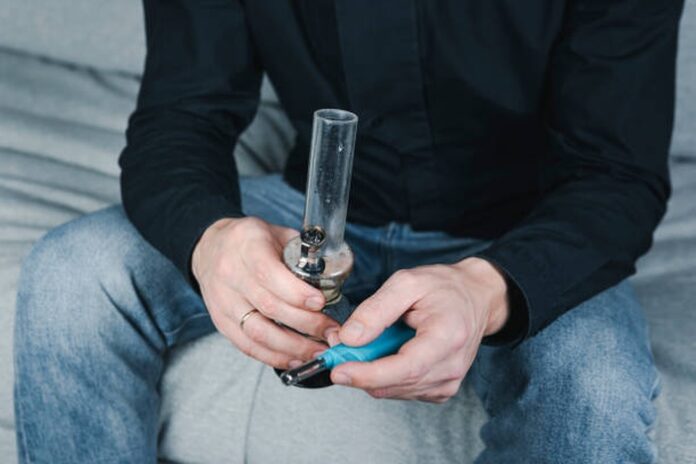
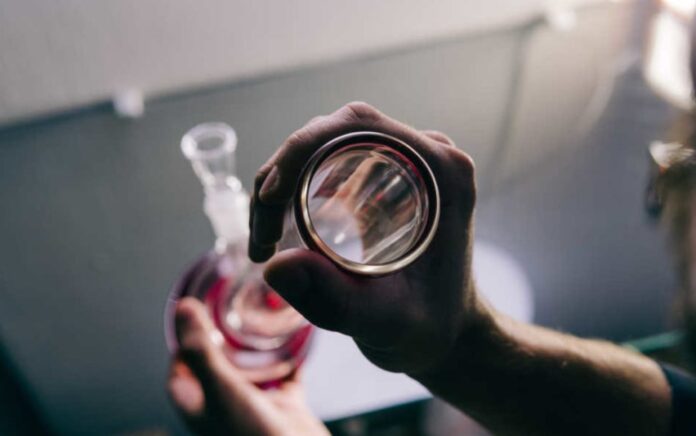
Cleanliness stands next to godliness, as per the old sayings. And this practice applies to smoking weed as well. So cleaning cannabis accessories is an essential practice for weed smokers. The process of cleaning bubblers is a very straightforward practice, but most people do not do it in routine and instead will mostly go for buying new bongs simply because they do not know how to do it correctly.
Keeping your bong clean and hygienic stops bacteria and viruses from developing and clogging the inside. However, if you have not done the cleaning work for a long time, then in such a situation, sometimes some people feel that replacing the bubbler is the only best option. Luckily, this practice is not correct. If you learn how to clean the bong and make it look like a new piece, you will never think of replacing it; buying bongs in bulk will become a prohibited action – according to luxeproductsusa.com.
There is still a big problem that most bubblers come in a variety of sizes and shapes, due to which the same formula that worked on one product cannot be as effective in another product. However, if you learn how to use the equipment available for cleaning bongs, you will be able to avoid this problem to a much greater extent. Before I start describing the use of cleaning equipment, let us look at why cleaning bubblers is so essential.
Why Clean Bubblers?
We cannot eat or drink in dirty utensils, so smoking weed in dirty bubblers and bongs has the same value as dirty utensils for weed smokers. This is the main reason for cleaning bubblers.
Yes, every reason for cleaning ends up at hygienic, performance, and taste aspects of smoking weed. But, in addition, the moist environment of bubblers provides a perfect nest for the growth of bacteria. These bacteria will transfer from inside the chambers to your lungs – with smoke. And this can give rise to breathing-related diseases and infections. So if you have not cleaned the inside chambers for a very long period, it is evident that harmful living organisms will transfer to your windpipe to create health hazards.
Primarily if multiple guys are using the same product, the level of harm due to not cleaning becomes far higher than imagined because any disease limited to an individual will spread to the whole group. In addition, the taste of smoking gets disturbed due to dirty accessories. So you can understand why it is so essential to clean bubblers. After all, the clean pipes and chambers perform better and provide healthier and pleasant highs.
So let’s consider the equipment you need for bong cleaning. In the steps afterward, we will discuss the use of every piece of equipment.
Bubbler Cleaning Essentials
According to experts’ opinions, you should not start cleaning bongs until you do not have all of this equipment available in your arsenal.
- Paper Towels or Tissue Papers
- Rubber Tongs or essentially Tongs with pads
- Sturdy Zip-top bag (Only one piece)
- Cotton swabs or pipe brushes smaller in size than the width of pipes
- Cleaning Agents. (Isopropyl alcohol for rubbing, Sea salt as an abrasive.)
Step By Step Cleaning Of Bubblers
You may find a number of guides teaching the right way to clean a bubbler using the equipment listed above. However, the standard approach is always very straightforward. Regardless of how you perform actions, it would help if you were extra careful because light components of a bubbler can break due to mishandling. So we suggest you proceed slowly with performing the step below.
1. Start
The bubbler should be flushed with warm, clean water so that nothing remains inside. For this reason, you need to pour the water out first. Now you should place your bubbler in the bag. Because the next step involves pouring liquids inside the bag, the zip must seal the bag properly. So spending extra on a good quality bag will save you more than its price.
2. Start Cleaning
Put a quarter cup of salt into the bag, followed by 16 ounces of isopropyl alcohol. It would help better if you use grain salt; however, this will work pretty well if only sea salt is available.
3. Sealing The Bag And Shaking
Now you should seal the bag and start shaking it vigorously. Continue shaking for at least one minute. Now adjust the bag such that the bubbler remains fully immersed in the cleaning solution. Shake it for at least one minute every hour to loosen up the resins.
4. Leave For Whole Night
Repeat the third step’s action of shaking for at least five hours. Again, it will help if you start the process during the middle of the day, and after shaking five or six times, leave it for the whole night. Afterward, give a final shake to the bag and take your bubbler outside. But be careful of the solution in which the bubbler was immersed because it is not suitable for scars.
5. Gentle Cleaning of Sticky Spots
Scars on the skin sting like crazy if these contact the alcohol solution. So it would help if you were careful while taking the bong out of the bubbler bag.
You need to show the same care in this step because now is the time to use cotton swabs or pipe cleaner brushes to clean any sticky spots. You should proceed with this step gently. If you have any scars on your hands, use gloves for your protection. You cannot flush the bubbler with water without cleaning the sticky spots.
6. Cleaning With Warm Water
Start cleaning your bong with warm water and perform extensive rinsing. The water must not be too hot to handle because sudden temperature changes can produce minor cracks in the body of the bong from where outside air can directly mix into the smoke.
Moreover, anything that was left during the previous steps should be cleaned. However, try not to clean with hands or nails directly. You have a paper towel and tissues for this final work.
Finally, yet importantly, you should ask the manufacturer of the bubbler about any printed logos because soaking in alcohol and salt solution can remove the logo. Moreover, it is recommended that you adopt the habit of regular cleaning.


