
Transforming the exterior walls of your home or building can significantly enhance its aesthetic appeal and value. One timeless method is the application of stone pebble tiles, which offer a unique blend of natural beauty and durability. This guide provides a step-by-step approach to applying stone pebble tiles to exterior walls, ensuring a successful project in 2024.
Understanding Stone Pebble Tiles
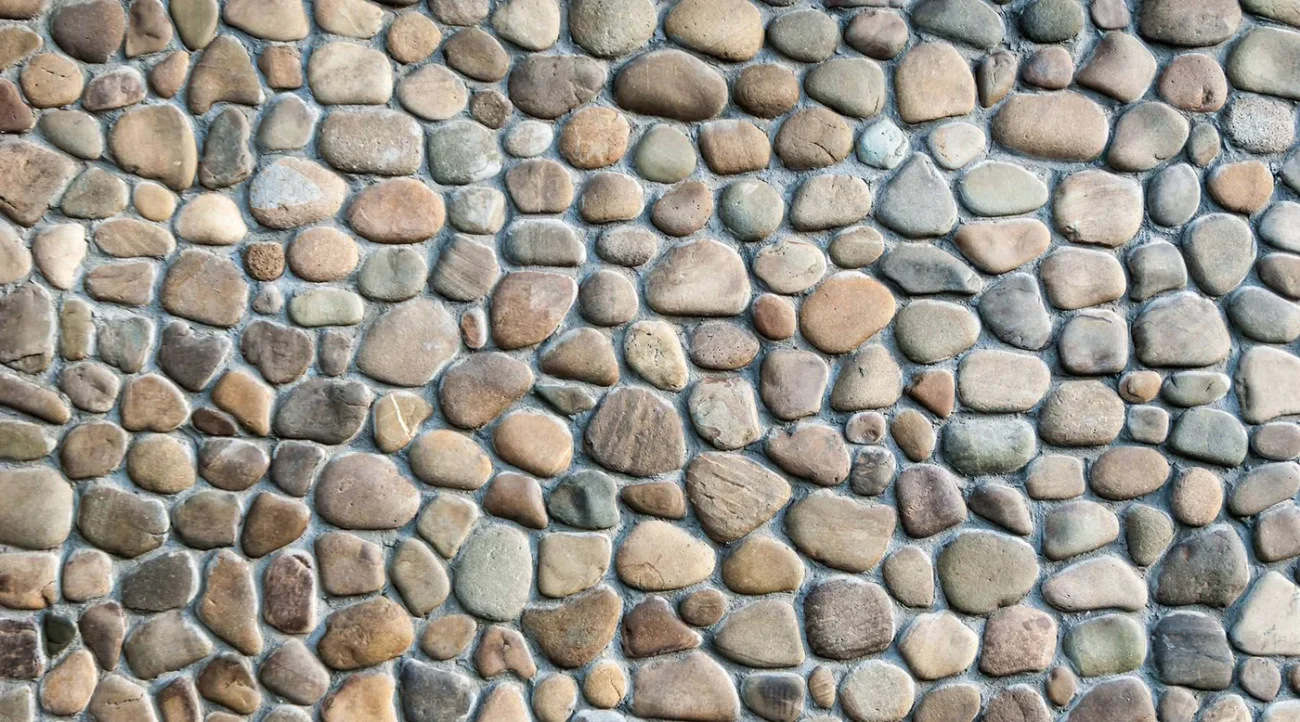
Before diving into the application process, it’s essential to understand what stone pebbles, also known as mosaic tiles are. These tiles are made from small, naturally rounded stones that are affixed to a mesh backing, making them easy to install. They come in various colors, sizes, and textures, allowing for versatile design options.
Preparation
The first step in any successful tiling project is preparation. Begin by inspecting the exterior wall to ensure it’s structurally sound, clean, and free from any damage or loose material. Repair any cracks or irregularities, as a smooth, stable surface is crucial for the tiles to adhere properly.
Next, measure the area you plan to cover and purchase enough stone pebble tiles to complete the job, accounting for a little extra to cover cuts and waste. It’s also the right time to gather all necessary tools and materials, including:
- Notched trowel
- Tile adhesive suitable for exterior use
- Grout (sanded grout is often recommended for stone pebble tiles)
- Sealer
- Sponge and bucket for cleanup
- Tile cutter or wet saw (for trimming tiles)
- Application: Meticulous and Methodical
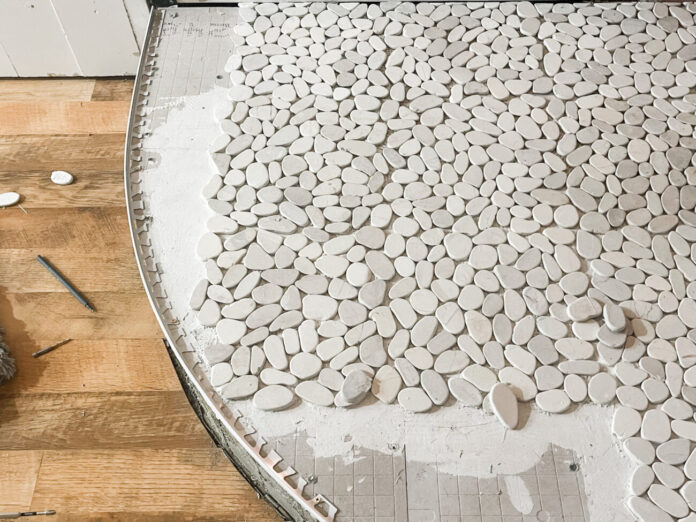
With your surface prepped and materials at hand, you’re ready to start applying the stone pebble tiles. Spread a layer of tile adhesive on the wall using the notched trowel. It’s best to work in small sections to prevent the adhesive from drying out before you can set the tiles.
Carefully place the stone pebble tiles onto the adhesive, pressing firmly to ensure good contact. Pay attention to the alignment of the tiles, keeping the edges as close as possible to achieve a seamless look. For areas that require cut tiles to fit, use a tile cutter or wet saw to trim the tiles to the desired size and shape.
Grouting: Filling the Gaps
Once the adhesive has dried and the tiles are securely in place, it’s time to grout. Grouting not only fills the gaps between the pebbles but also adds to the overall strength and durability of the wall covering. Mix the grout according to the manufacturer’s instructions and apply it over the tiles, making sure to work it into all the spaces between the pebbles.
Sealing: The Protective Finish
After the grout has fully cured, which can take 24 to 48 hours, apply a sealer to the stone pebble tiles. Sealing is a crucial step, especially for exterior applications, as it protects the tiles from the elements, staining, and fading. Choose a sealer appropriate for stone and exterior use, and apply it according to the manufacturer’s directions.
Conclusion
Applying stone pebble tiles to an exterior wall is a rewarding project that enhances the beauty and value of any property. By following these detailed steps and adopting a careful, methodical approach, you can achieve a stunning, durable finish that will stand the test of time.


